Late updated: 23 Oct 2024 09:10
Written by: Oliver Bennett
Understanding Roof Flashing for UK Homes: Essentials and Best Practices
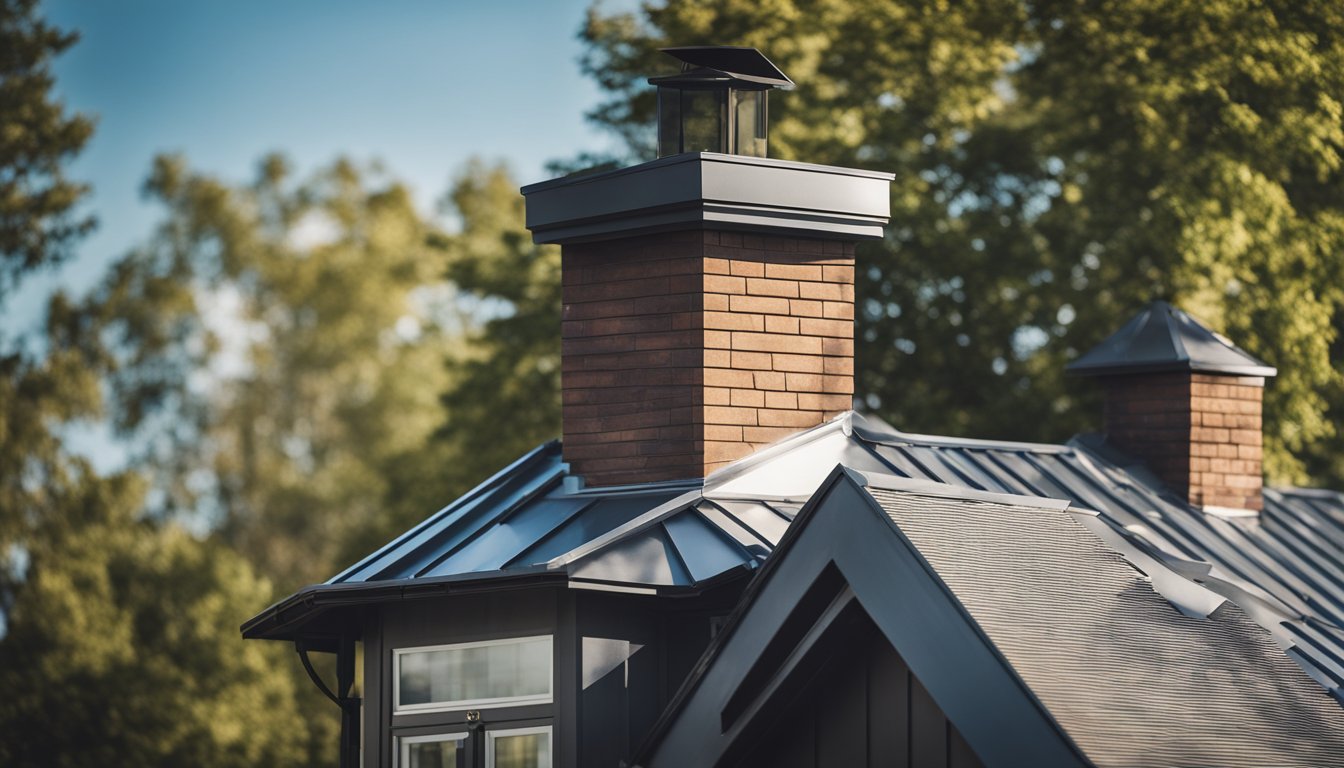
Roof flashing is an unsung hero of home protection that often goes unnoticed yet plays a vital role in safeguarding our homes. This thin layer of impervious material is strategically installed to prevent water leakage at joints, seams, and other vulnerable areas of the roof. Understanding roof flashing is essential for maintaining the integrity and longevity of your roof, ensuring that water is directed away from critical areas toward the gutters.

In UK homes, weather conditions can pose significant challenges to roofing systems, making proper flashing installation even more crucial. Commonly made from materials such as aluminium or copper, each type offers different benefits depending on the budget and longevity needed. We aim to delve into these options and explain how proper installation and maintenance can prevent costly roof repairs in the future.
Roof flashing doesn't just protect your home; it’s also a smart investment that provides peace of mind. By ensuring the integrity of your roofing system, it acts as a first line of defence against elements like rain and snow, which are prevalent in the UK. Let’s explore further how you can make the best choices for your home.
Key Takeaways
- Roof flashing is critical for preventing water damage in homes.
- Choosing the right materials can impact the longevity of the roof.
- Proper installation and maintenance are essential for roof integrity.
Essentials of Roof Flashing
Roof flashing is essential for preventing water penetration in homes. It acts as a barrier at joints and intersections, protecting against leaks. Various types of flashing and materials like aluminium and copper are key components.
Purpose and Importance
Roof flashing serves as a protective layer, crucial for safeguarding the structural integrity of a roof. By directing water away from seams and joints, it prevents water infiltration and subsequent damage. The performance of flashing is vital to avoid costly repairs.
Moreover, flashing helps in shielding the roof against harsh weather conditions. This protective barrier extends the life of the roofing system by minimising water-related issues.
Types of Roof Flashing
Different types of flashing are employed, each suited for specific locations on the roof. Continuous flashing creates a strip that seals areas along walls or chimneys. Step flashing is used where the roof meets walls, consisting of small overlapping pieces. Valley flashing fits into the valleys where two sections of the roof intersect.
Counter flashing adds an additional layer on top of existing flashing for extra protection. Drip edge flashing guides water away from the roof edge into gutters. Each type plays a distinct role in ensuring efficient water diversion.
Common Materials
Various materials are used to craft effective roof flashing, with each offering unique benefits. Galvanized steel is popular for its durability and resistance. Aluminium is lightweight yet strong, providing an effective barrier against water.
Copper offers longevity and a classic appearance, while lead is favoured for its flexibility and weather-resistant properties. Choose materials based on specific needs, cost, and the environmental conditions they must withstand.
Selecting the right material enhances the roof's performance, reducing the risk of leaks and prolonging its lifespan. These considerations are paramount in making informed choices about roof flashing materials.
Installation and Maintenance

Proper installation of roof flashing is crucial to prevent water leakage and damage. Regular inspection and maintenance prolong its lifespan, ensuring the roof's integrity and functionality.
Installation Guide
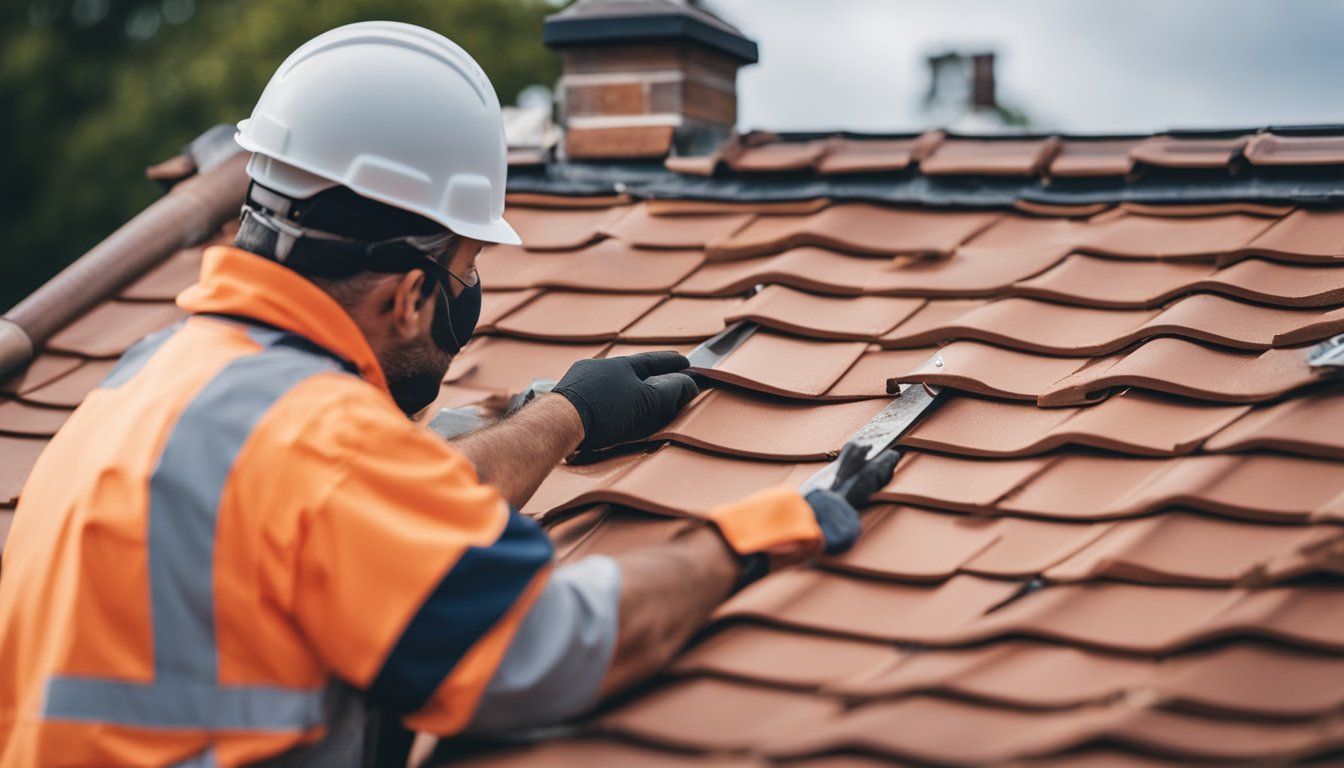
Installing roof flashing requires careful attention to detail and adherence to building codes. We begin by selecting the right materials, such as aluminium or galvanised steel, for their durability and resistance to corrosion. Proper installation involves securing the flashing with roofing nails or screws, ensuring they are driven into the roof deck but not the flashing itself to prevent water ingress.
Ensure sealant is applied generously at joints and edges, using roofing cement to provide an additional waterproof barrier. It's paramount to achieve a snug fit around roof features like chimneys and vents, which can be achieved by cutting and bending the flashing precisely. Adhering to these guidelines will enhance the roof's protective capabilities.
Inspection and Maintenance Tips
Regular inspection is essential to identify signs of wear or damage in the roof flashing. To maintain its effectiveness, we should check for any displaced sections or missing nails, which may need immediate attention. Utilising a simple checklist can keep your roof in optimal condition:
- Inspect flashing for rust or corrosion.
- Ensure seals are intact and replace cracked roofing cement.
- Replace any loose or missing nails.
Maintenance tips include cleaning the roof surface and clearing debris that might obstruct proper drainage. In harsher climates, inspections should be more frequent to accommodate weather-related stressors. By reinforcing weak points and resealing joints as necessary, we uphold our roofs' durability and weather resistance.
Frequently Asked Questions

In this section, we're addressing common queries about roof flashing for homes in the UK, shedding light on costs, materials, and processes involved.
How much does it generally cost to install roof flashing in UK homes?
The cost of installing roof flashing can vary depending on the material and complexity of the roof structure. Generally, homeowners can expect to pay between £15 to £30 per linear metre for standard materials like aluminium or galvanised steel. It’s always best to get quotes from multiple contractors.
Can you illustrate the various types of roof flashing with images?
While images aren't provided here, you can easily find diagrams and photos online or in home improvement stores. They typically show the installation of flashing around chimneys, roof edges, and valleys, helping guide homeowners and professionals alike.
What are the different materials used for roof flashing?
Common materials for roof flashing include aluminium, copper, and galvanised steel. Copper is praised for its durability and malleability, though it’s more expensive. Aluminium is lightweight and easy to shape, making it popular for many applications. Galvanised steel is also widely used due to its toughness and corrosion resistance.
What are the specific types of flashing required for a pitched roof?
Pitched roofs often utilise step flashing, valley flashing, and drip edge flashing. Step flashing is used around roof intersections with walls, while valley flashing is placed in roof valleys. Drip edge flashing is essential along the roof edges to direct water into the gutters, helping to protect the fascia.
Could you detail the installation process for roof edge flashing?
Installing roof edge flashing involves securing the material along the roof's perimeter. Start by lifting the shingles along the edge. Place the flashing beneath these shingles and over the edge of the roof deck. Secure it with roofing nails, ensuring overlap with adjacent pieces to maintain a seamless barrier against water ingress.
How can one ensure the roof flashing is effectively waterproofing the roof?
Regular inspections are key to effective waterproofing. Check for any gaps, rust spots, or misaligned pieces which could compromise the barrier. Ensuring that the installation follows proper techniques and standards will also help maintain its waterproofing quality. Engaging professionals for regular maintenance can enhance the durability and performance of the flashing system.
